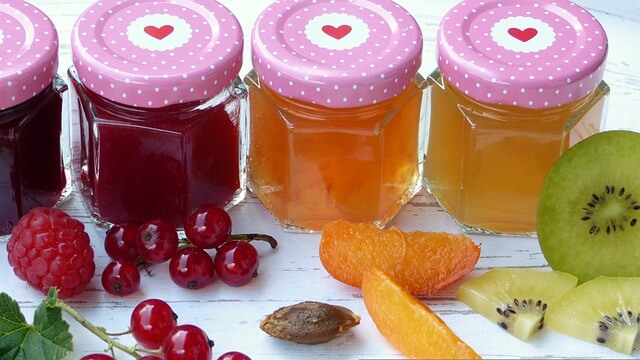
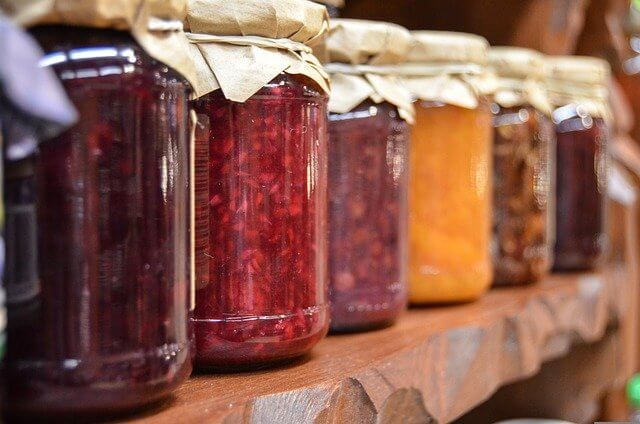
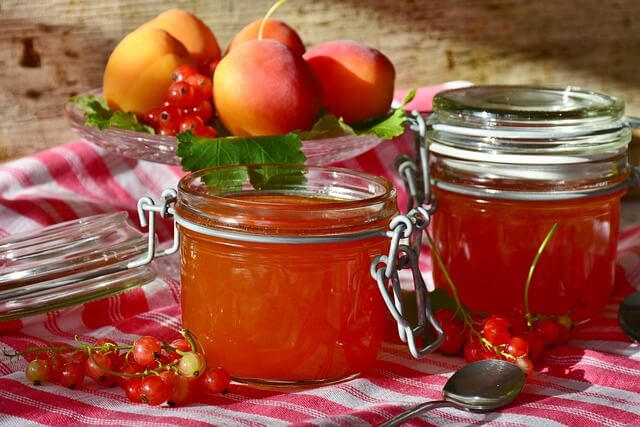
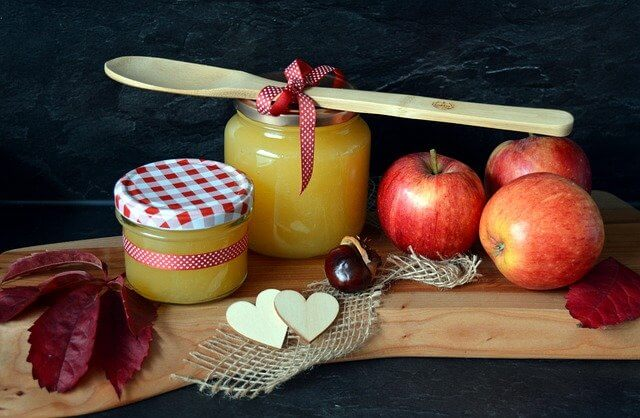
I often remember how my grandmother used to make jam herself. She was so creative in the kitchen and boiled down different fruits like raspberries and strawberries and made delicious strawberry jam and raspberry jam from them. As far as I could remember, she had never used jam sugar. I wrote down these recipes for homemade jam and jellies and I want to share them with you today. Of course everything without jam sugar.
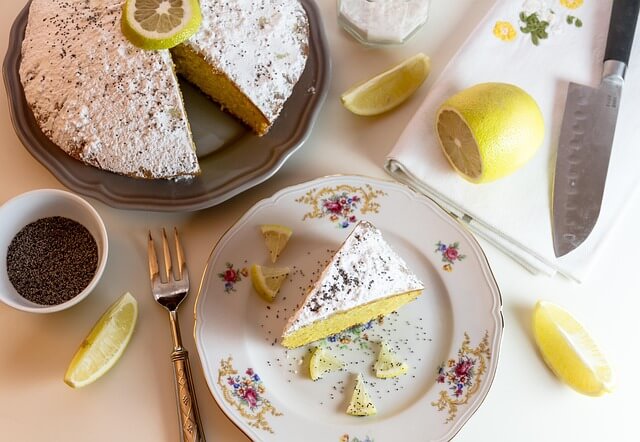
Also, try this delicious apple pie .
Nowadays, you quickly went to the supermarket and bought the ready-made jam in the refrigerated section next to the preserving sugar and fruit spread. But did you know that the jam consists of about 60% sugar? It also contains other ingredients that are not at all necessary for jam and are totally unhealthy. The jams are pumped full of preservatives, acid-regulated substances such as sorbic acid or calcium citrate. On top of that, the jam sugar might even contain palm oil. But let’s see how we can make it better:
Preserving without shopping The ultimate tip for those in a hurry: cook jam without preserving sugar
No matter what kind of fruit you are holding in your hand. You can use it to make jam without jam sugar. And that’s really delicious! Let’s take a look at the tips for making a large jam using traditional ingredients:
- You can also make jam with regular table sugar or cane sugar
- You can make jam without jam sugar and use the sweetness of the fruit
- You can make jam with pectin, which works very well as a gelling agent. Pectin is a vegetable fat and is found in the fruit itself.
The summer time is jam season, which runs from August to September. Not all harvests of local fruits are generally predictable.
Grandma also made the jam without preserving sugar
My grandmother used to make jam without preserving sugar. In order to get the whole thing thick and sweet, she simply cooked longer to set the jam without preserving sugar.
She always added apples for the strawberry jam. The reason for this was that strawberries are not among the fruits rich in pectin and the apple has a pectin content and thus supports the gelling better. Plus, it’s always a good idea to add a squeeze of lemon juice. This lemon juice supports the fruit taste.
The sugar helps the jam without preserving sugar for a longer shelf life. But you can use fructose for this. The ratio here is 1:1 for about 1 year.
My grandmother always worked very cleanly, so she never had any problems with the jam going bad beforehand. Hygiene and cleanliness are the be-all and end-all for a long shelf life of your jams.
You can also use agave syrup instead of regular sugar to keep it longer. The jam doesn’t last as long here, but it still tastes good and is also much healthier than with normal industrial sugar.
Cold and warm method of making jam
Among the warm and conventional preparation of jam preparation, you can also choose a cold method.

Looking for a quick way to make jam without the hassle of cooking? Then the cold technique is a good alternative.
The great advantage of cold jam is that all the vitamins in the fruit are not lost when they are boiled. Jam prepared using this method must then be placed in a jar and placed in a refrigerator.
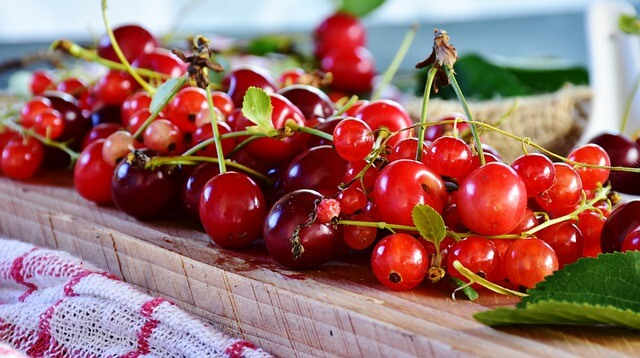
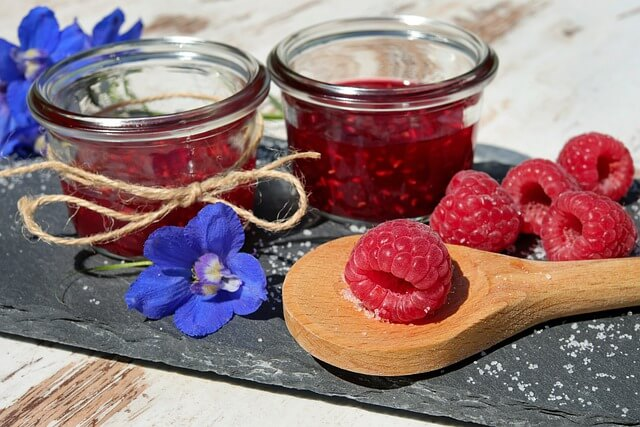
This jam can be stored in the refrigerator for at least three days after cooking. Apricots and fruits such as cherries, raspberries and strawberries are particularly suitable for cold jam without preserving sugar.
For the cold method of jam making, the first thing you should do is cut the fruit into very small pieces.
Alternatively, you have a blender at hand and you can mix or puree your fruit directly.
Since we don’t use jam sugar, use some lemon juice and half an apple. The apple contains apple pectin and binds the fruit in a kind of cream.
You then let everything cool overnight after pouring it into glasses. Afterwards you can feast on this delicious jam in a relaxed manner.
A special pot for my jam
A copper pot is best for making jam. It evenly heats the contents from all sides as well as floor coverings. The copper pot can retain heat more easily than stainless steel pots. The conductivity of the heat is therefore about 20 times better than with conventional stainless steel pots.
In addition, you save a lot of energy and you enjoy a vitamin-friendly cooking of your jam. Because the cooking time is much shorter, there is less of a risk of burning.
You should also pay attention to the shape of the copper pot. In a cylindrical shape of the pot, it allows liquid water to evaporate much more easily. For our jam, this means that fruit can also be thickened here. And that also affects the taste. Why don’t you try it out?
Other advantages that speak for a copper pot for jam production:
- Perfect protection for your fruit: the taste of jams becomes more exciting
- Perfect colour: Your jam will be much more colorful and fruity as a result
- Jams without preserving sugar : the reactions between copper and fruit make your jam what it should be – it intensifies the preserving process without any preserving sugar
Attention! Of course, it depends on the fruit and its pectin content! - Intense taste: jam from the copper pot is an experience and differs significantly in taste from a conventional jam made from a stainless steel pot.
- Jam lasts longer: Because copper has an antibacterial effect, bacteria don’t stand a chance and makes your raspberry jam last longer.
- Your copper pot lasts longer: Since copper is made of a durable material, you can enjoy preparing your jams and all their advantages in the copper pot for a very long time.
Disadvantages of copper pots for jam making
- Copper is non-magnetic so will not work on induction cooktops
- Cheap jam pots should be treated with caution. They can deform on gas stoves
- You have to wash your copper pot by hand. The copper pots are not dishwasher safe. They would suffer enormous damage from the lye effect and lose their full function.
What are gelling agents, canning sugar and acidulants used for?
It is important to understand how canning sugar, canned sugar and preserving sugar are made up.
Preserving sugar, for example, consists of conventional sugar and gelling agents. This is used for jams, jellies or even jams and spreads. They contain the component pectin, which makes your jam nice and firm at the end.
However, the gelling sugar can also be made from palm oil and acidifiers. This depends on the type of mixing ratio, the jam sugar itself and the fruits that are used.
Depending on how sweet the jam should be, more or less sugar is added accordingly.
The manufacturers usually use a lot of sugar in the jam. The high sugar content makes the jam durable for a very long time. So you can be relatively sure that the jam you bought from the supermarket has a high sugar content.
If you want to be sure that your jam is healthier than that from the supermarket, then it is best to cook one yourself – with little sugar or only fructose are healthier alternatives.
Canned sugar contains large sugar crystals and dissolves more slowly than table sugar. Simple gelling sugar (1/1) is made from canned sugar supplemented with gelling agents (e.g. pectin). Almost every food has the ingredient palm oil, which helps reduce foam when cooking. The presence of acids like citric or tartaric acid can also reduce sweetness.
Preserving sugar, on the other hand, has no gelling aids. This type of sugar consists only of coarse-grained sugar crystals. These are intended to prevent foaming and therefore only dissolve very slowly.
You can use canning sugar for your jam if you’re using fruit that’s high in pectin. For example, an apple contains a high level of pectin.
ingredients of jam sugar
Because the gelling sugar reduces the enormous amount of time required to make jam enormously, it is used very often in many households.
But what is actually in it?
Well, preserving sugar is made from the following ingredients, among others:
- refinement
- pectin as a gelling agent
- Citric acid or tartaric acid as an acid agent
- preservatives
In the meantime, ready-made gelling sugar for cold jam production is also available. Carrageenan or sodium alginate are part of these gelling agents.
Make jam sugar yourself
In order to make your preserving sugar to the best of your knowledge and belief, I recommend that you simply make it yourself.
You need for this:
- 1 liter of water
- 1 kg sugar (I recommend canning sugar here)
- 500 g apple peels (they contain apple pectin)
- 500 g apple cores
You put the apple skins and the apple core in 1 liter of water and let it boil for about 45 – 50 minutes. Then the whole thing is mashed well. Then you pass it through a large sieve.
The juice obtained is the perfect alternative to jam sugar.
Be sure to try it!
Preserving sugar and the right mix
If you decide to boil down your jam with jam sugar, you should use the right mixture of jam sugar.
Note three different variants:
- For example, for one kg of preserving sugar you also need one kg of fruit. So the ratio of 1:1.
- You should use one kg of fruit for 500 g of preserving sugar. Accordingly, a ratio of 2:1.
- Alternatively, you should use 1 kg of fruit for approx. 300 g of preserving sugar. So a ratio of 3:1.
For the latter part, your jelly jam will be the least sweet, least long-lasting – but healthiest.
Cook jam in a copper pot without jam sugar. That’s how it’s done
Quantity: Six liters of 200 liters each. Kitchen Deutsche Hof jam special recipe with minimal sweetener. The process takes 15 minutes. preparations. An hour and a minute. Working time: 1 hour.
Make your own jam with preserving sugar?
You have decided on preserving sugar and now want to boil down your jam accordingly so that a nice jelly mass is created. To do this, you should follow the steps below:
- First you wash your fruit well.
- Then you peel them or core your fruit and cut it into small, fine pieces.
- Then you weigh your fruit and fruits. At the end of the day, you want a good mix ratio.
- Now you put everything in your pot.
- The next step is to add the jam sugar.
- Now everything is heated while stirring constantly.
- If your fruit becomes viscous, you can pour the fruit and your fruit into jam jars and let them cool.
- Pay attention to the mixing ratio of your gelling sugar, which influences the shelf life and sweetness.
Enjoy your meal!
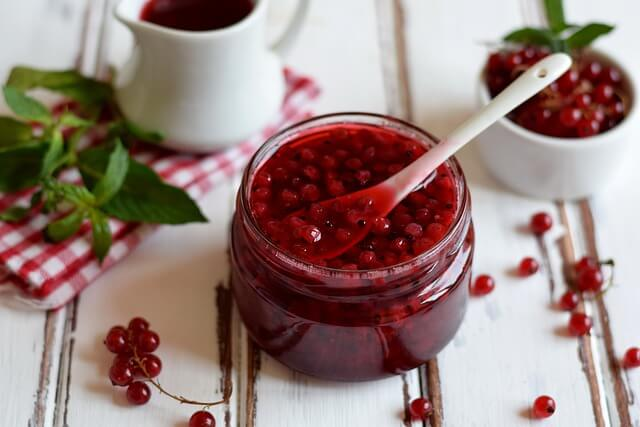
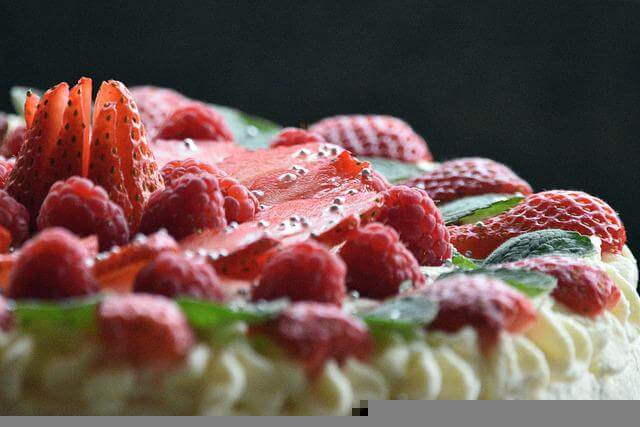
Strawberry jam without jam sugar
You can easily make the preparation for strawberry jam without preserving sugar yourself. This jam not only tastes good on rolls, but also on your strawberry cake! Try it next time you bake!
For about 5 jam jars you need the following ingredients:
- 1 kg of strawberries
- 65o g sugar
- 1 lemon and its lemon juice
Preparation of the jam
First you cut the strawberries into small pieces.
Then you put the pieces in the pot and heat it up.
Sugar and lemon juice are added.
Make sure that you boil the whole thing slowly and stir constantly.
Tips:
You can also finely puree your strawberries if you don’t like it so gritty.
Do not close the pot with the lid, otherwise the whole thing could boil over.
When are the strawberry jams ready?
After about 1 hour you can try the spoon test. When your jam runs very slowly down the spoon, it’s done. Otherwise you can continue to cook them. Under constant stirring of course.
And finally
Make sure you have your jam jars ready. As soon as your strawberry jam is ready, you can decant it directly and let it cool down. This creates a solid consistency directly in the glass.
You should also make sure that you leave a margin of about 0.5 cm.
cooling process
Your jam jars should cool for about 2 to 3 hours. Then you can do the vacuum test.
How is the shelf life of strawberry jam formed?
With jars with a screw cap, you can tell after just 2 hours whether they can be opened. This becomes noticeable with a soft popping of the lid. This way you can tell whether it has a vacuum or not.
For glasses with a glass lid, you can try after about 1 – 2 hours whether it can be removed. If you can do this without much effort, then you should plan a little more time here.
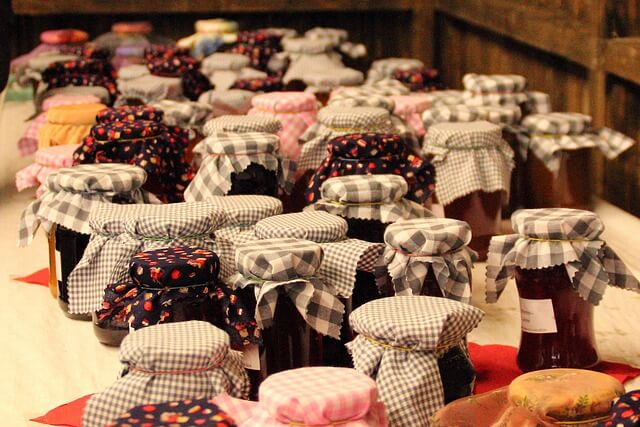
The jars should all be vacuum-staggered, so your strawberry jam will last longer.
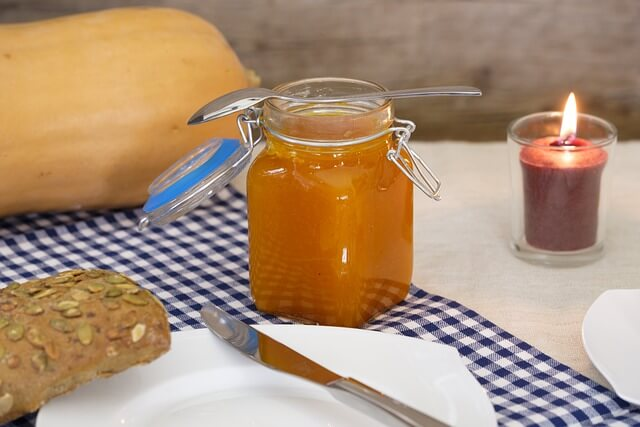
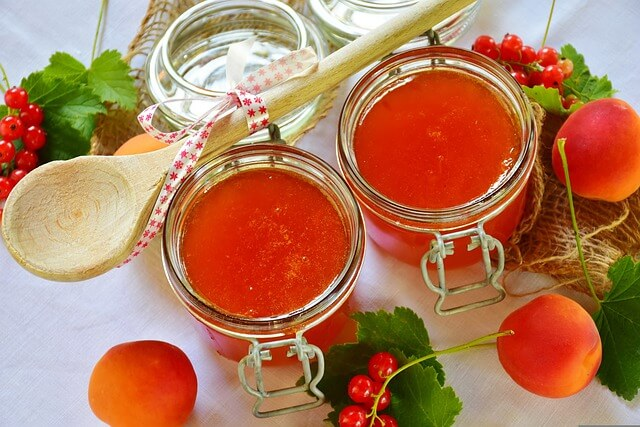
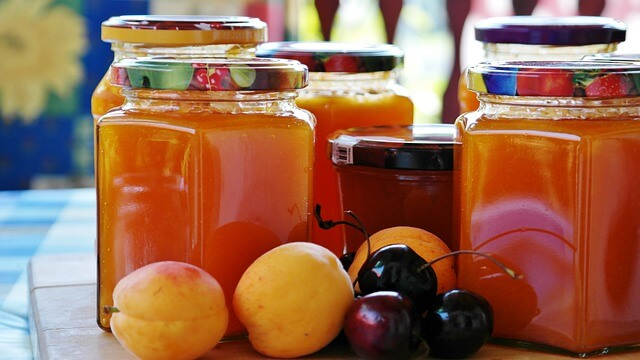
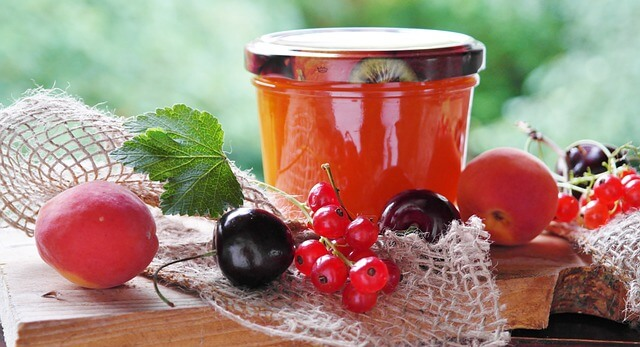
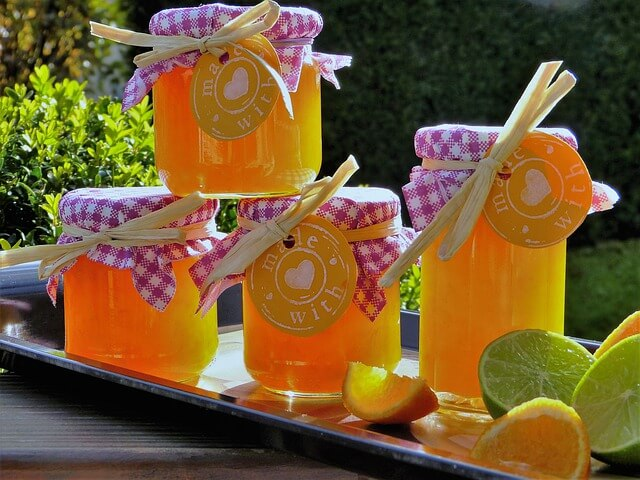
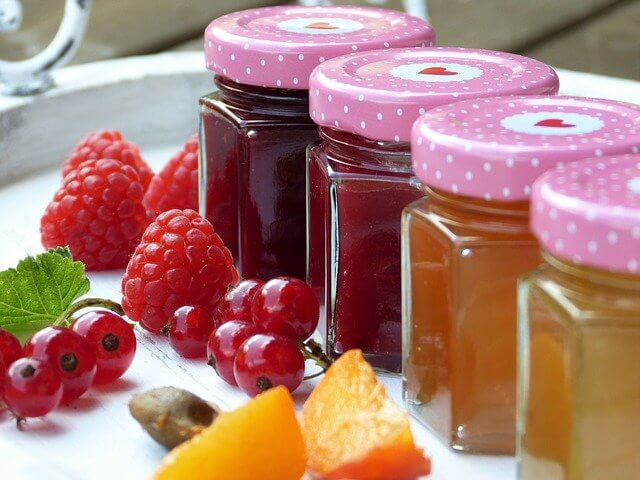
Other jam alternatives without preserving sugar
There are many delicious fruit jams that you absolutely have to try. You can make all of these recipes without jam sugar and they also taste incredibly delicious and are much healthier than industrial jams.
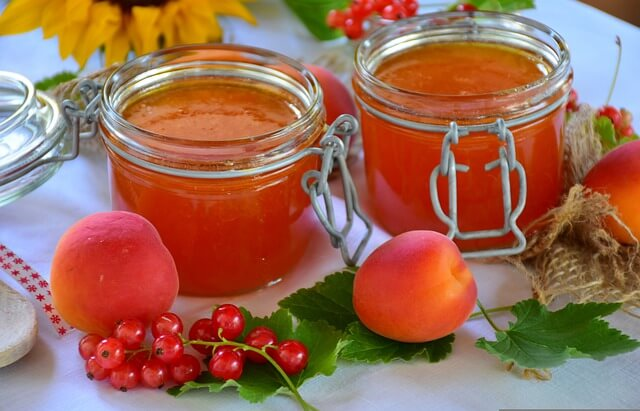
Apricot jam
Why don’t you try apricot preserves without preserving sugar.
You need the following ingredients for the apricot jam:
- 1 kg of apricots
- 650 grams of sugar
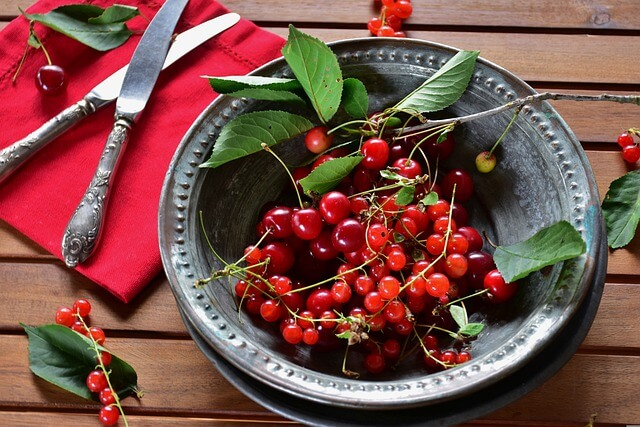
Cherry jam
Cherry jam tastes best at cherry time.
You need for this:
- 1 kg of cherries
- 650 grams of sugar
Make sure you use cherries that have already been pitted.
Plum jam
You should also try plum jam.
For this you need:
- 1 kg of plums
- 650 grams of sugar
other berries
Of course, you can also prepare your jams with other berries and fruits. Take a look at what’s in season and try something new.
Of course, there are many other ways to cook or make your fruit spread or your favorite jam.
But have you ever thought about what else you can do with it?
How about using your crafted raspberry jam jars on a delicious cake? In contrast to the conventional production of your jam, you take off part of it and put it aside for your cake preparation.
I have a great recipe for you here:
Crumble cake with jam
For these cake recipes like this, you need the following ingredients:
For covering
80 g strawberry jam for the topping
For the dough::
- 350 grams of dough
- 10 grams of sugar
- 60 grams of flour
- 50 grams of milk
For the crowd:
- 600 g rhubarb
- 100 grams of sugar
- 100 grams of almonds
- 50 grams of milk
- A piece of lemon peel
- 100 grams of butter
- 80 grams of flour
- 1 pack of baking powder
- 120 grams of eggs
Preparation of the cake
- Mix all the ingredients for the dough in a bowl and knead well. Separately take away some of the dough and use it for the crumbles.
- For the cake base, mix together the remaining crumbles, sugar, flour and milk. Then knead briefly and place in the springform pan.
- Bake the cake at 180 degrees for about 1 hour.
- Finally let it cool down.